 Save
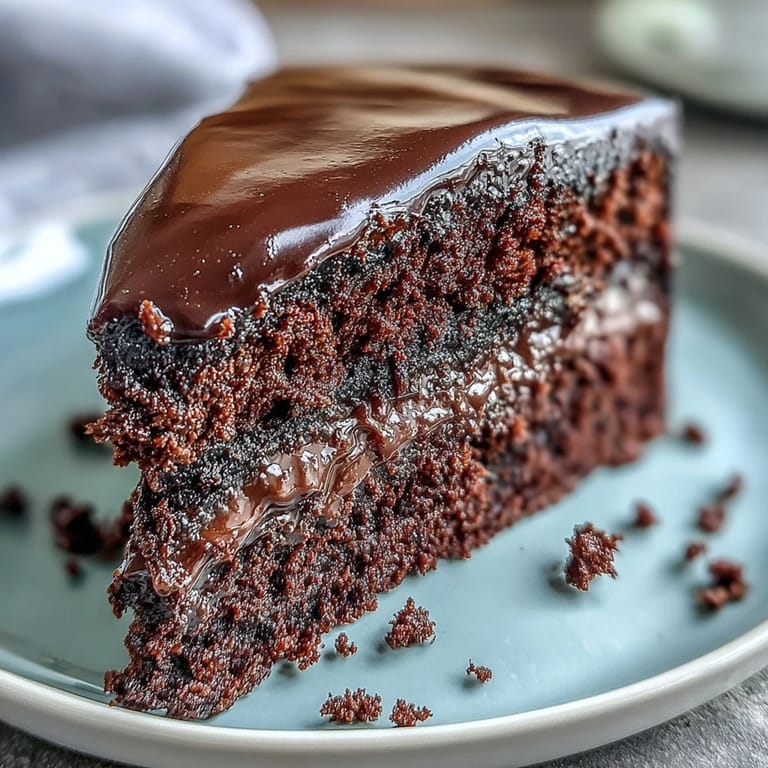
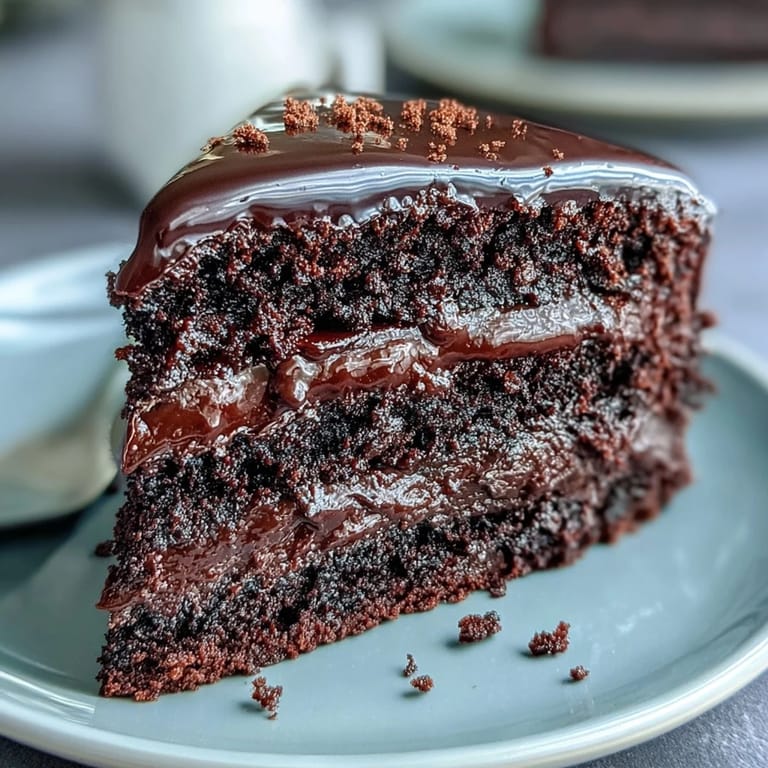
Save There's something about melting dark chocolate over a gentle steam that makes you feel like you're doing something properly indulgent, even if it's just a weekday afternoon. My mum used to make a cake like this whenever someone needed cheering up, and I'd stand on a stool watching the chocolate go glossy and thick, wondering why it seemed to take forever and also no time at all. The first time I tried making it myself, I got impatient and the chocolate seized up into a grainy mess, but I learned quickly that slow and steady really does win here. Now, this squidgy chocolate fudge cake is my go-to when I want something that tastes far more impressive than the effort it actually takes.
I made this for my friend's surprise birthday last spring, and I remember the kitchen filling with chocolate steam while everyone was outside in the garden completely oblivious. By the time they came in, the cake was cooling and the smell alone had given everything away, but nobody minded one bit. Watching them dig into that first slice and close their eyes for a moment—that's when I knew this recipe had staying power.
Ingredients
- Unsalted butter (200 g plus extra for greasing): This is your foundation, so use good quality butter—it makes the cake tender and helps the chocolate meld smoothly into the crumb.
- Dark chocolate with minimum 50% cocoa solids (200 g, chopped): Don't cheap out here; the chocolate flavor carries the whole cake, and cheaper chocolate can taste waxy and hollow.
- Light brown sugar (250 g): The slight molasses note adds depth that white sugar just can't match, trust me on this one.
- Large eggs (3): Room temperature eggs whisk up thicker and trap more air, which keeps the cake fluffy even though it's rich.
- Plain flour (200 g): Standard wheat flour; sifting it matters because you're folding gently, not stirring hard.
- Baking powder (1 ½ tsp): This gives you that gentle lift without any metallic aftertaste.
- Fine sea salt (¼ tsp): A tiny pinch that somehow makes the chocolate taste even more chocolatey.
- Cocoa powder (50 g): Use unsweetened, Dutch-process if you can find it—the flavor is deeper and more velvety.
- Whole milk (150 ml): Keeps the batter from getting too thick and ensures the crumb stays moist.
- Vanilla extract (1 tsp): A small amount that quietly enhances the chocolate without announcing itself.
- Dark chocolate for icing (150 g, chopped): Same rule as the cake chocolate—quality matters because you taste it directly in the icing.
- Unsalted butter for icing (100 g): Softened slightly so it beats into the chocolate smoothly without lumps.
- Icing sugar, sifted (200 g): Sift it before measuring, because unsifted icing sugar is dense and your icing will be grainy.
- Whole milk for icing (3 tbsp): Adjust this up or down depending on humidity; you want something that spreads like silk, not like concrete.
Tired of Takeout? 🥡
Get 10 meals you can make faster than delivery arrives. Seriously.
One email. No spam. Unsubscribe anytime.
Instructions
- Prep your tins and heat your oven:
- Preheat to 180°C (160°C fan) / 350°F, then grease and line two 20 cm round tins with baking paper—this matters because it's the difference between cake and cake fragments.
- Melt the chocolate and butter together:
- Use a heatproof bowl sitting over a pan of simmering water, stirring occasionally until everything's smooth and glossy, then pull it away from the heat and let it cool for a minute or two. You want it warm enough to mix easily, but not so hot that it scrambles the eggs later.
- Whisk sugar and eggs until pale and thick:
- This usually takes about 3-4 minutes with an electric whisk or longer if you're doing it by hand, and you'll see the mixture go from dark and loose to pale yellow and mousse-like. That aeration is what keeps the cake tender.
- Fold in the chocolate mixture gently:
- Stir in the cooled chocolate and vanilla extract with a spatula, being careful not to knock out all that air you just created.
- Combine your dry ingredients in a separate bowl:
- Sift the flour, baking powder, salt, and cocoa powder together—sifting removes lumps and helps everything distribute evenly.
- Fold dry ingredients into wet, alternating with milk:
- Add a third of the dry mix, fold gently, then add half the milk, fold, then repeat until everything's just combined and smooth. This alternating method prevents overmixing and keeps the crumb tender.
- Divide batter evenly between tins:
- Use a spatula to scrape the bowl, and don't worry if they're not perfectly level—the cake will level itself as it bakes.
- Bake for 30 to 35 minutes:
- A skewer inserted into the center should come out with a few moist crumbs clinging to it, not completely clean and not wet like raw batter. You want that squidgy middle.
- Cool in tins, then turn out:
- Let them sit for 10 minutes in the tins so they firm up enough to release cleanly, then tip them onto a wire rack to cool completely. Trying to frost a warm cake is a lesson in frustration, so be patient.
- Make your icing while cakes cool:
- Melt the chocolate and butter together the same way, then remove from heat and let it cool slightly before you gradually beat in the sifted icing sugar and milk. Beat until it's smooth, glossy, and spreadable.
- Assemble and frost:
- Place one cake layer on a plate, spread a third of the icing on top, then place the second layer on it and cover the top and sides with the remaining icing. Use a palette knife dipped in warm water to smooth it out, and don't stress about perfection—rustic charm is real charm here.
 Save
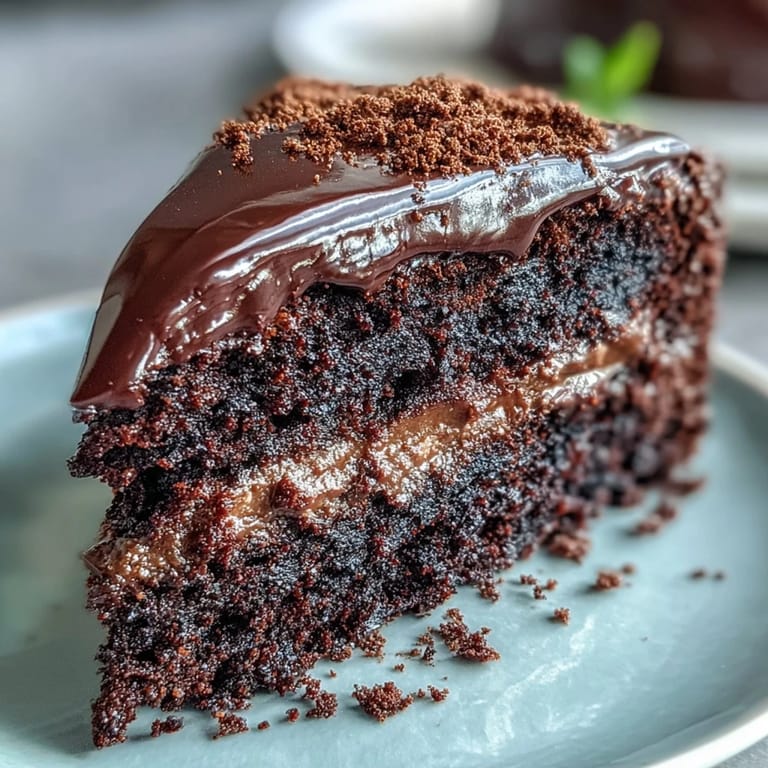
Save There was an afternoon when my daughter helped me frost this cake for the first time, and she was so concentrated on trying to smooth the icing that she forgot to eat anything else for two hours. When she finally tasted it, she looked at me like I'd invented chocolate, which made every moment of careful folding and gentle stirring feel completely worthwhile.
How to Keep It Fresh
This cake actually improves after a day because the flavors deepen and the crumb sets into that perfect moist-but-sturdy texture. Keep it in an airtight container at room temperature and it'll stay lovely for up to three days, though honestly it rarely lasts that long in my house. If you need to make it further ahead, you can bake the layers and freeze them unfrosted for up to a month, then frost and serve whenever you're ready.
Ways to Dress It Up
The beauty of this cake is that it's luxurious enough on its own, but it loves a bit of extra flair if you're feeling inspired. A layer of raspberry jam between the cakes adds a bright tartness that cuts through the richness perfectly, or you could dust the top with a tiny bit of cocoa powder and a pinch of sea salt just before serving. Whipped cream and fresh berries on the side turn it into something that feels restaurant-worthy, and honestly, nobody needs to know you made it in under an hour.
What to Serve Alongside
This is the kind of cake that demands a good cup of tea or coffee, something with enough character to stand up to all that chocolate. A glass of cold milk works in a pinch, and a slightly chilled glass of red wine is surprisingly lovely if you're feeling fancy. Fresh berries, whipped cream, or even a simple vanilla ice cream will all make you look like you've planned an elaborate dessert when really you've just made a killer cake.
- Whipped cream dolloped on top adds richness but also a cooling contrast that makes you want another bite.
- A scattered handful of raspberries or fresh strawberries brightens everything up and adds tartness against the sweetness.
- Even just a cup of proper tea on the side elevates the whole moment from snack to occasion.
 Save
Save This cake never feels fussy, which is exactly why I reach for it again and again. Whether it's for someone's birthday or just a Tuesday when you deserve something brilliant, it always delivers.
Recipe Help & FAQs
- → Can I use milk chocolate instead of dark chocolate?
Yes, but dark chocolate with at least 50% cocoa solids gives the best rich, fudgy flavor. Milk chocolate will make it sweeter and less intense.
- → How do I know when the cake is done?
Insert a skewer into the center—it should come out with a few moist crumbs, not wet batter. Bake for 30-35 minutes at 180°C (160°C fan).
- → Can I make this cake in advance?
Absolutely. The cake keeps well in an airtight container for up to 3 days, making it ideal for party preparation.
- → What size cake tins do I need?
Use two 20 cm (8-inch) round cake tins, greased and lined with baking paper for best results.
- → How can I make the icing smoother?
Ensure the chocolate and butter are fully melted and combined before adding icing sugar. Beat well and use a warmed palette knife for smooth spreading.
- → Can I freeze this chocolate cake?
Yes, wrap unfrosted cake layers tightly in cling film and freeze for up to 3 months. Thaw completely before icing.