 Save
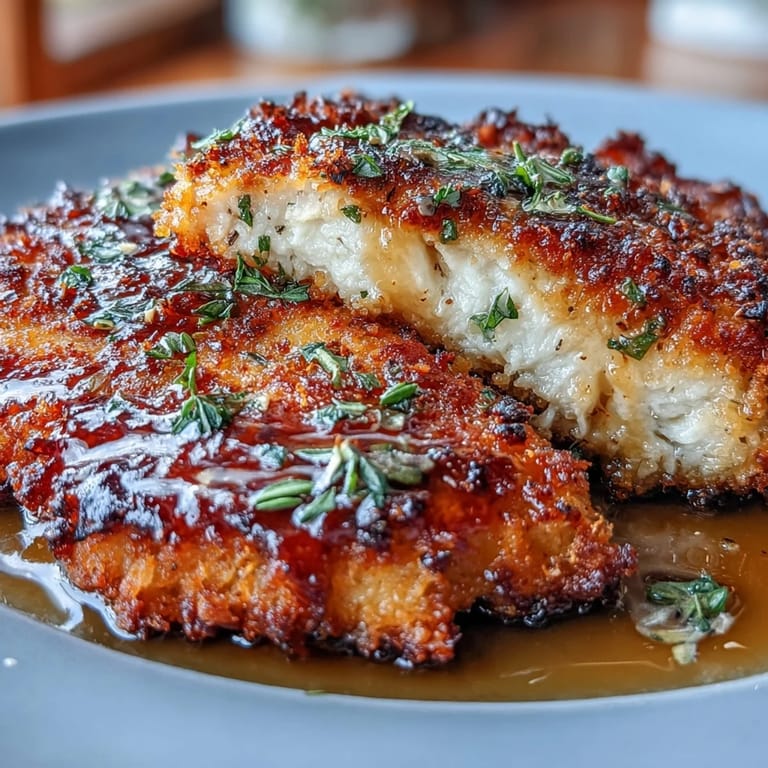
Save The first time I made this chicken, my kitchen smelled like an Italian restaurant. That combination of savory Parmesan and bright lemon zest filled every corner of the apartment. I was experimenting with a classic chicken piccata idea but wanted something with more crunch. Now its the dish my friends actually request when they come over for dinner.
Last summer, I served this at a small dinner party on my patio. Everyone went quiet for that first bite, which is always the best compliment. One friend actually asked if I'd been taking secret cooking classes. The sauce really makes the whole dish sing.
Ingredients
- Chicken breasts: Pounding them to even thickness ensures they cook uniformly and stay tender
- Parmesan cheese: Freshly grated gives you the best melting capability and flavor
- All-purpose flour: Helps the coating adhere and creates that satisfying crunch
- Eggs: Room temperature eggs create better adhesion for the breading
- Garlic: Freshly minced adds aromatic depth to both the coating and sauce
- Unsalted butter: Gives you control over the final salt level in the sauce
- Lemon juice: Fresh squeezed is absolutely worth the extra effort
Tired of Takeout? 🥡
Get 10 meals you can make faster than delivery arrives. Seriously.
One email. No spam. Unsubscribe anytime.
Instructions
- Prepare the chicken:
- Cut each breast lengthwise and pound between plastic wrap until even, about half an inch thick. This step feels therapeutic and guarantees juicy results.
- Mix the coating:
- Whisk eggs with garlic, Italian seasoning, salt, and pepper in one bowl. Combine Parmesan and flour in another shallow dish.
- Bread the cutlets:
- Dip each piece in egg mixture, let excess drip off, then press into the Parmesan flour. The coating should stick generously.
- Cook to golden:
- Sauté in hot olive oil about five minutes per side until golden and crispy. Resist the urge to move them around too much.
- Make the sauce:
- Melt butter, add garlic until fragrant, then stir in lemon juice and broth. Let it simmer briefly to meld flavors.
- Bring it together:
- Arrange chicken on a platter and spoon that warm sauce over everything. Turn pieces to coat them beautifully.
 Save
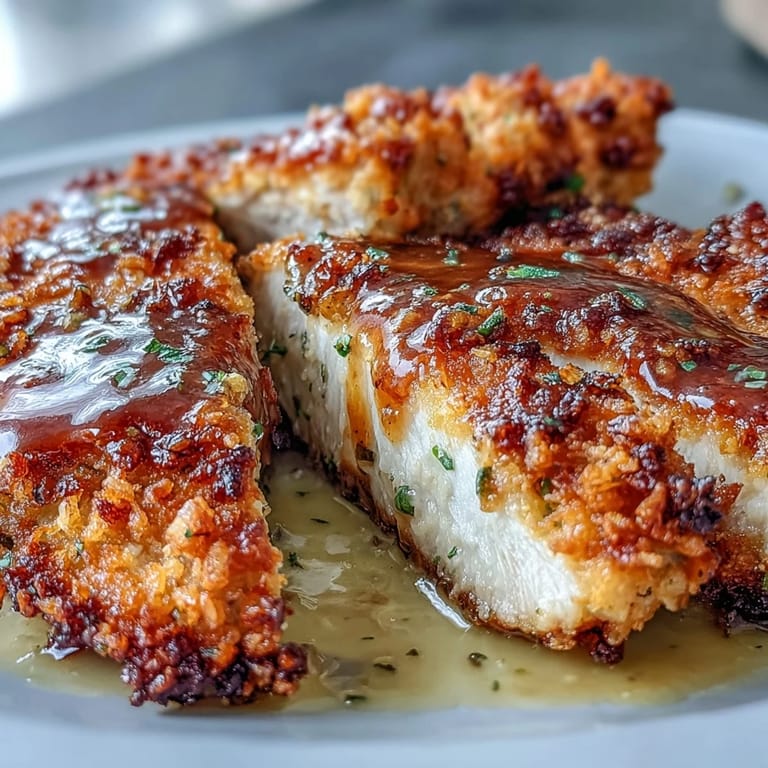
Save This recipe became my go-to for those nights when I want to make something special but not fussy. Theres something so satisfying about that first crunch through the crispy coating.
Making It Ahead
You can bread the chicken up to four hours ahead and keep it refrigerated on parchment paper. The sauce can also be made earlier and gently reheated. This makes actual dinner time so much more relaxed.
Pairing Suggestions
I love this with simple angel hair pasta tossed in olive oil and garlic. Roasted potatoes work beautifully too, and a crisp green salad cuts through the richness.
Common Questions
Can I use chicken thighs instead of breasts? Absolutely, just adjust cooking time slightly since dark meat needs a few more minutes. What about freezing the breaded chicken? Yes, freeze them on a baking sheet first then transfer to a bag, theyll keep for a month.
- Pat the chicken really dry before starting for better coating adhesion
- Let your meat rest at room temperature for twenty minutes before cooking
- Use a splatter screen, the hot oil will pop and sizzle quite a bit
 Save
Save Theres nothing quite like watching people enjoy something you made with your own hands. Hope this becomes a favorite in your kitchen too.
Recipe Help & FAQs
- → How do I get the parmesan coating to stick properly?
Pat chicken completely dry before starting. Let excess egg mixture drip off each cutlet, then press the parmesan-flour mixture firmly onto the surface to ensure even adhesion during cooking.
- → Can I make this dish ahead of time?
You can pound and coat the chicken up to 4 hours ahead, refrigerating until ready to cook. The sauce is best made fresh, but ingredients can be prepped in advance for quicker assembly.
- → What sides pair well with this chicken?
Angel hair pasta tossed in olive oil, roasted garlic potatoes, or a crisp green salad with vinaigrette complement the rich flavors. Steamed asparagus or green beans also work beautifully.
- → How do I know when the chicken is fully cooked?
Cook until golden brown on both sides, about 4–5 minutes per side. Use a meat thermometer to verify the internal temperature reaches 165°F (74°C) in the thickest part.
- → Can I use chicken thighs instead of breasts?
Boneless skinless chicken thighs work well, though they may need slightly longer cooking time. Pound to even thickness and adjust cooking until crispy and cooked through.
- → How can I make this gluten-free?
Substitute the all-purpose flour with a gluten-free flour blend and ensure your chicken broth is certified gluten-free. The rest of the ingredients are naturally gluten-free.