 Save
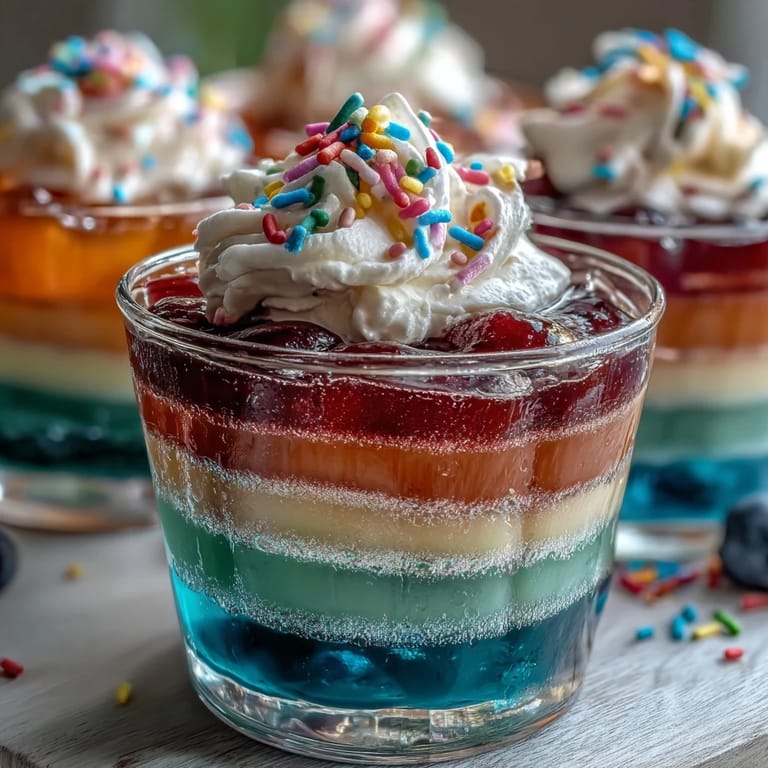
Save The first time I made rainbow Jello cups, the kitchen became a patchwork of colorful bowls lined up on every available counter space. It was a rainy afternoon, and the sound of boiling water crackling on the stove mingled with giggles from the kids peeking into the fridge. I remember each layer felt like unveiling a miniature surprise—watching the purple slowly become firm before adding the blue like painting in edible brushstrokes. Even now, whenever I open a new box of Jello, I get a whiff of bright fruitiness that takes me right back to that cluttered, joyful scene. The best part was seeing the layers stack up, promising an explosion of color with every spoonful.
One weekend, I made these rainbow Jello cups for my niece’s birthday—as I lined up the cups, my brother confessed his nervousness about hosting so many kids. But after the first round of squeals when they spotted the dessert, even he relaxed and started helping with the whipped cream. There’s something oddly calming about the simple act of stirring Jello and waiting for it to set. No complicated steps, no stress—just color, patience, and laughter. We ended up sharing more stories over dessert than over the main course.
Ingredients
- Strawberry (red) Jello: This adds a sweet, familiar flavor that shines in the final layer—make sure to dissolve it fully or you’ll get grainy bites.
- Orange Jello: The citrusy punch keeps things lively between layers; mix slowly to avoid splashy spills.
- Lemon (yellow) Jello: Its tartness balances the overall sweetness and gives that sunshine glow; cold water is crucial here.
- Lime (green) Jello: This flavor has an edge—sometimes I add a squeeze of real lime juice for extra zing.
- Berry blue Jello: Blue always gets the most cheers; use a clear measuring cup so you don’t miss any powder at the bottom.
- Grape (purple) Jello: Starting with purple means the deepest color anchors the cup, and it keeps layers visually crisp if set well.
- Boiling water: Hot enough to melt every crystal, but be careful—stir gently to avoid splashes.
- Cold water: This stops the setting process from being rushed; cold water helps achieve perfect texture in each layer.
- Whipped cream or topping: Fluffy clouds on top; homemade tastes best but store-bought saves time for big batches.
- Rainbow sprinkles: A little whimsy never hurts, and if you have extra, let the kids add them themselves for a hands-on finish.
Tired of Takeout? 🥡
Get 10 meals you can make faster than delivery arrives. Seriously.
One email. No spam. Unsubscribe anytime.
Instructions
- Start with the purple layer:
- Mix the grape Jello with boiling water, stirring until perfectly clear, then add cold water and breathe in the fruity aroma. Gently pour about two tablespoons into each cup and let them chill in the fridge, resisting the urge to poke the surface before 30 minutes pass.
- Add the blue layer:
- Dissolve berry blue Jello in fresh boiling water and then cold, noticing how the liquid deepens to a striking blue. Layer atop the purple, then tuck the cups back into the fridge until set.
- Continue with green:
- Prepare the lime Jello, and as you pour, the colors begin to stack like vibrant traffic lights. Make sure each layer is fully firm before adding the next so the lines stay crisp and distinct.
- Layer on the yellow:
- Lemon Jello goes next, bright and cheery, bringing a gentle tartness as you fill the cups. Wait patiently, as this step is crucial for a clean rainbow look.
- Follow with orange:
- Orange Jello perks everything up—its citrus scent will fill the kitchen. Pour carefully, being gentle to keep the layers separate.
- Finish with red:
- Finally, add strawberry Jello for the ruby red crown; by this point, you’ll see a full rainbow in each cup. Let them chill one last time, then take a moment to admire your handiwork.
- Add the topping:
- Spoon a dollop of whipped cream onto each cup and scatter rainbow sprinkles on top for extra sparkle. Serve chilled and let everyone dig into their rainbow treat.
 Save
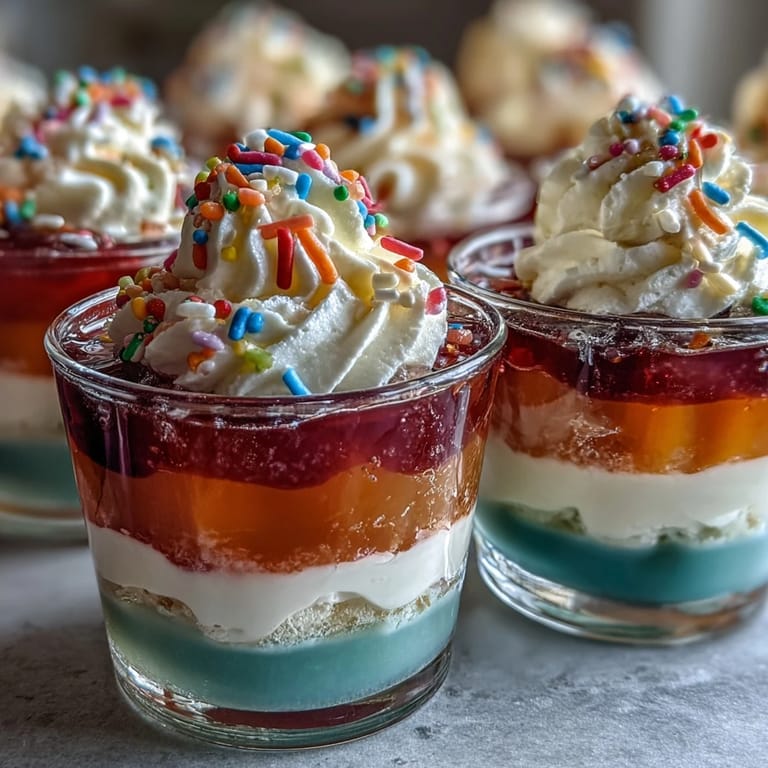
Save There was a time these rainbow cups turned a gray, rainy afternoon into a celebration. My friend’s toddler, usually shy, spent half an hour examining each layer before finally tasting—and then demanded, 'another rainbow, please.' Seeing the delight in their eyes made me realize these weren’t just desserts, but edible joy in a cup.
Building Perfect Layers Every Time
Patience is your best friend here. I found that setting timers, even just on my phone, stopped me from peeking too early, which helped every stripe stay sharp and true. When distracted, I once poured a layer too soon and watched the colors run together like watercolor—still pretty, but missing the crisp magic. For best results, always wait until each layer is cool and firm to the touch.
Easy Flavor Swaps and Personal Touches
Don’t be afraid to mix up the flavors—sometimes I skip lemon and double the orange for a warmer palette, or use raspberry instead of strawberry for subtle variation. Customizing colors based on the occasion is part of the fun. You’ll also find sugar-free or organic gelatin can work just as well for a lighter treat.
Party Prep Tricks and Serving Tips
Making rainbow Jello cups ahead means less stress at party time. Stack them safely in the fridge so they don’t topple, and cover lightly to keep the whipped cream fresh. Kids love adding the sprinkles themselves right before serving, which makes them invested in their own colorful creation.
- Add a mini spoon or fork with each cup for easy eating.
- Let each guest personalize their topping for interactive fun.
- Don’t forget to snap a photo before serving—the stripes never last long!
 Save
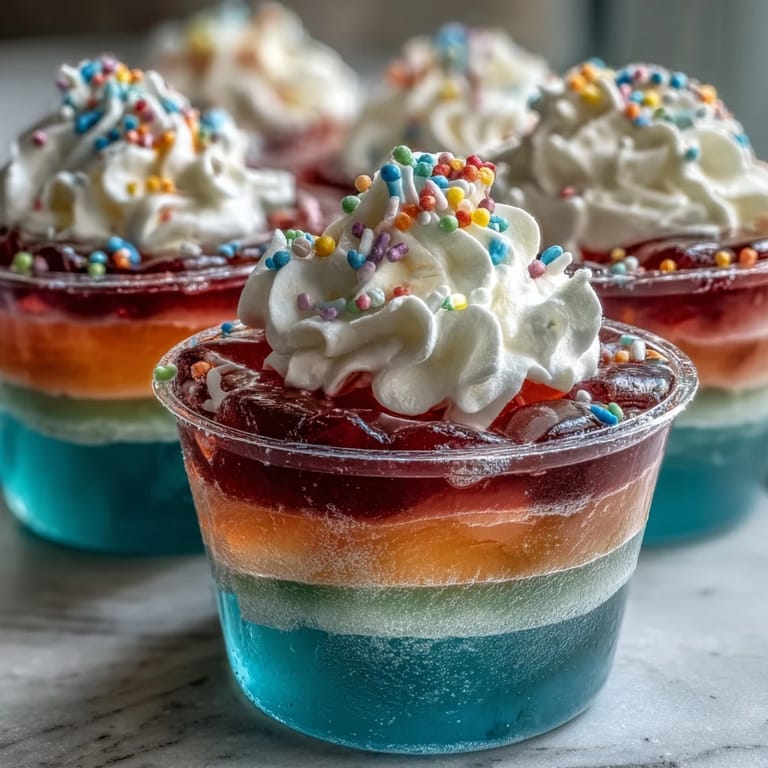
Save These rainbow Jello cups are sure to bring a little color to any gathering. Every layered cup is a small celebration all its own.
Recipe Help & FAQs
- → How do I achieve sharp layers in these cups?
Allow each Jello layer to fully set in the refrigerator before adding the next, typically 30–40 minutes per layer.
- → Can I use different flavors or colors?
Yes, you can substitute any Jello flavors or colors to suit personal preferences or match party themes.
- → Is there a dairy-free topping option?
Coconut whipped cream makes an excellent dairy-free alternative for topping these colorful cups.
- → Can I prepare these cups ahead of time?
Absolutely. The cups need to chill at least 4 hours, and can be made a day in advance for best layering.
- → Are these suitable for vegetarian diets?
Most gelatin products are not vegetarian; look for vegetarian-friendly gelatin or alternatives if needed.
- → How can I make a lighter version?
Use sugar-free Jello for a lighter dessert, and opt for a light whipped topping to reduce calories.