 Save
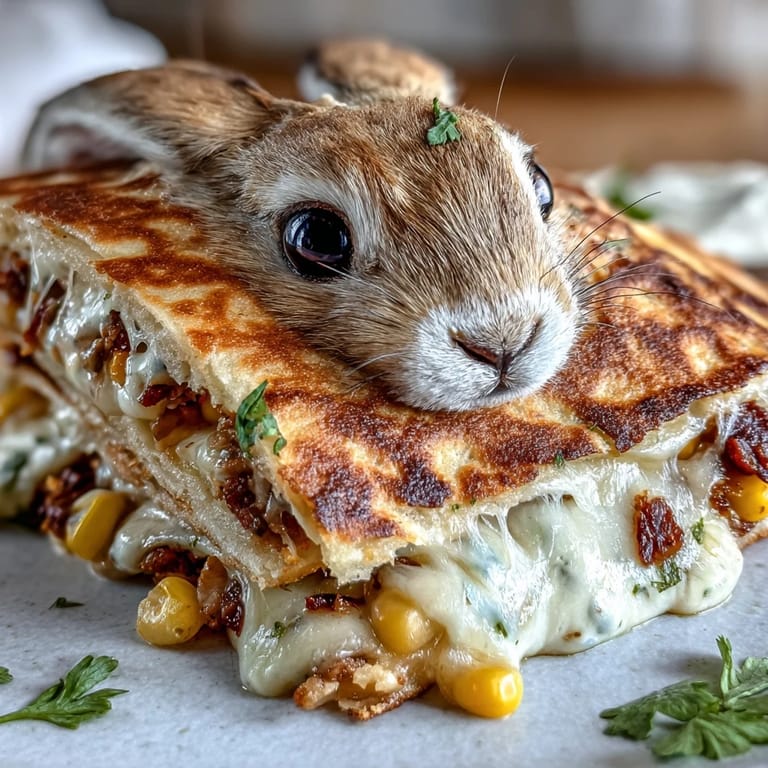
Save My daughter came home from school one afternoon clutching an Easter craft project, eyes absolutely gleaming with the idea of bunny-shaped everything for the holiday lunch. That evening, standing in the kitchen with her perched on a stool, we started experimenting with flour tortillas and a cookie cutter we'd found in the back of a drawer. What began as a silly experiment turned into something she now requests every spring, and watching her face light up when she sees these golden little bunnies emerge from the oven never gets old.
I'll never forget the Easter when my neighbor popped over unexpectedly with her kids, and I had these bunnies cooling on the counter from a test run. The children absolutely crowded around them like we'd just pulled rabbits from a hat, and my neighbor looked at me like I'd performed actual magic in my kitchen. She still asks me to bring them to every spring gathering now, which is both flattering and a bit of a running joke between us.
Ingredients
- Large flour tortillas: These form your bunny structure, and I've learned that slightly thicker ones hold up better to the filling and maintain their shape when you cut them into those adorable little ears.
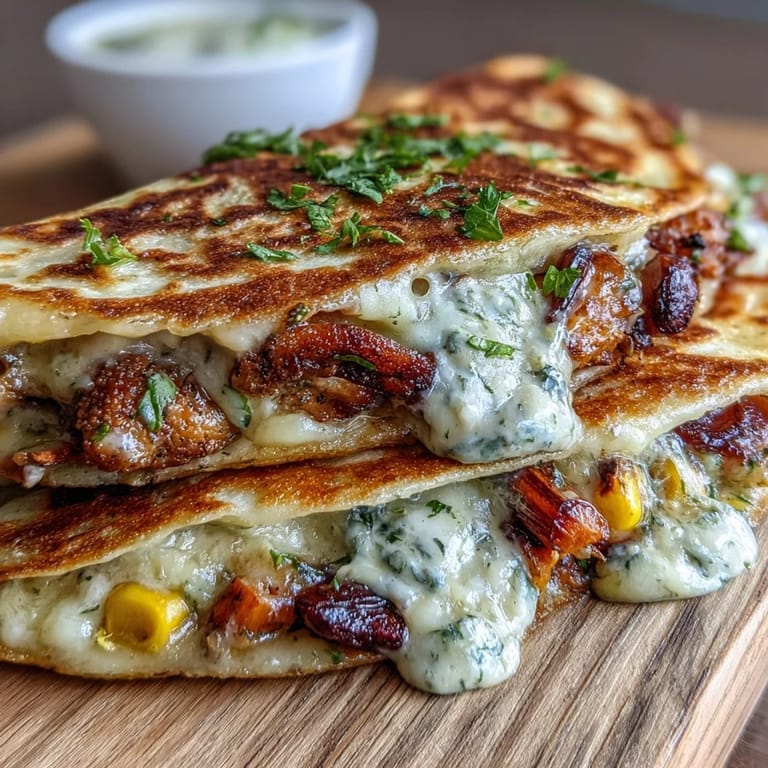
- Shredded cheddar and mozzarella cheese: The cheddar brings that sharp, satisfying flavor while mozzarella melts into silky smoothness, and combining both gives you the best of both textures.
- Diced bell peppers: These add a subtle sweetness and moisture to the filling, plus they make the inside colorful when you peek inside a finished quesadilla.
- Sweet corn kernels: Fresh or frozen works beautifully, and the slight sweetness balances the savory cheese in a way that makes these genuinely crave-worthy.
- Unsalted butter, melted: This brushed on top creates that golden, crispy exterior that shatters slightly when you bite into it, which is honestly the whole appeal.
- Black olive slices, baby carrots, and fresh herbs: These aren't just decoration, they're what transforms a simple quesadilla into something festive that tells a story on the plate.
Tired of Takeout? 🥡
Get 10 meals you can make faster than delivery arrives. Seriously.
One email. No spam. Unsubscribe anytime.
Instructions
- Heat your oven and prep your workspace:
- Set your oven to 375°F and line a baking sheet with parchment paper so your bunnies won't stick or brown unevenly on the bottom. This small step saves you from frustration later.
- Cut out your bunny shapes:
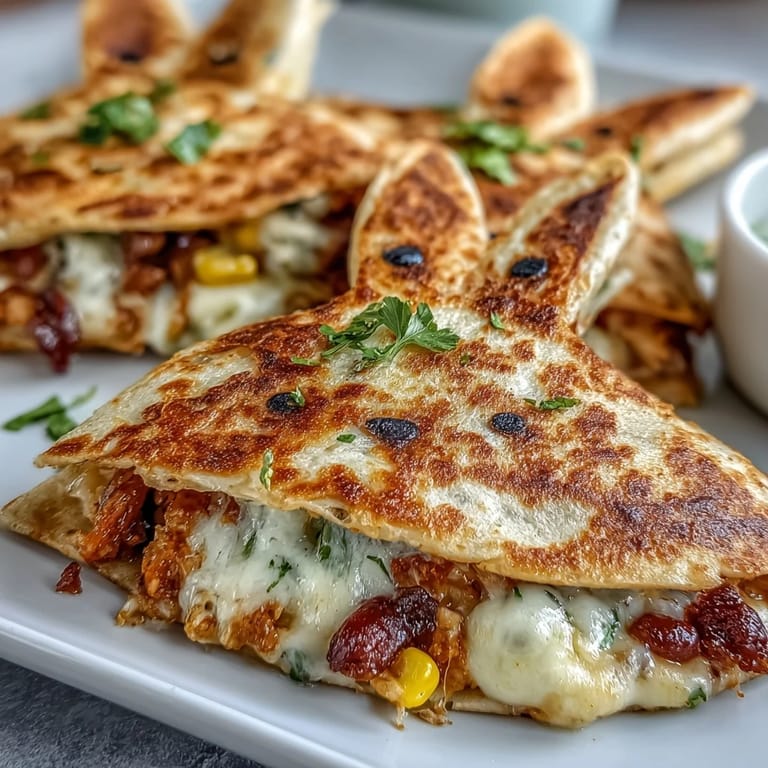
- Using a bunny-shaped cookie cutter or a simple paper template and sharp knife, carefully cut shapes from your tortillas, aiming for about 12 total so you have pairs. You'll feel a little ridiculous doing this, but trust me, it's absolutely worth it.
- Build your filling layers:
- Place half your bunny cutouts on the prepared sheet, then scatter your cheese blend, peppers, and corn generously across each one. Don't be shy with the filling, but don't overstuff to the edges where it might leak.
- Top and butter:
- Place the remaining tortilla bunnies on top of your filling, then lightly brush the tops with melted butter, covering the whole surface. The butter is what creates that crackling golden exterior, so don't skip this step.
- Bake until golden and melty:
- Pop them into your preheated oven for about 8 to 10 minutes, watching until the cheese just starts to bubble at the edges and the tortillas turn a light golden brown. You want them warm and melted but not crispy to the point of shattering.
- Decorate while warm:
- Remove from the oven and let cool for just a minute or two, then press olive slices into place for eyes, a carrot piece for the nose, and herb sprigs for whiskers. The warmth helps everything stick without any adhesive needed.
- Serve and celebrate:
- Transfer to a serving plate while still warm and bring them to the table with sour cream for dipping, watching everyone's faces as they realize how charming these little bunnies actually are.
 Save
Save There's something magical that happens when you take something ordinary like a quesadilla and give it personality and charm. My family now associates these bunny quesadillas with springtime and celebration, which means every Easter we're all in the kitchen together with cookie cutters and baby carrots, laughing at how earnestly we're trying to make our cheese-filled bunnies as adorable as possible.
Customizing Your Filling
Once you nail the basic cheese and vegetable combination, you can start playing with what goes inside without changing a single step. I've experimented with adding shredded rotisserie chicken for protein, black beans for earthiness, or even caramelized onions when I'm feeling fancy. The beauty is that your quesadillas will still bake the same way and come out just as golden and cute, just with a flavor profile that's entirely yours.
Making This Work for Different Ages and Diets
What I love about this recipe is how adaptable it is depending on who's showing up to eat it. For vegetarians, it's already perfect as written, but if you want to add protein, cooked shredded chicken or black beans fold right in without any fuss. If someone needs dairy-free options, you can experiment with dairy-free cheese melts (though the result won't be quite as creamy), or simply load up the filling with extra vegetables and serve with guacamole instead of sour cream.
The Secret to Perfect Texture
The magic trick nobody talks about is the combination of baking instead of pan-frying and using that melted butter brush on top. Baking gives you even cooking and golden edges without the fuss of flipping, plus your kitchen doesn't smell like hot oil for the next three hours. The butter creates a delicate crispy layer that shatters pleasantly when you bite into it, which is honestly the difference between a quesadilla that's just food and one that's genuinely crave-worthy.
- Watch your oven temperature carefully because even 25 degrees too hot can turn your adorable bunnies into blackened creatures.
- If you're making these for a crowd, you can assemble them all ahead of time and bake them fresh just before serving for maximum crispness.
- Leftover quesadillas reheat beautifully in a 350°F oven for about 5 minutes, though they're honestly best eaten fresh and warm.
 Save
Save These quesadillas have become my go-to when I want to make ordinary days feel a little bit special, and the fact that they take less than half an hour from start to table is honestly the best-kept secret. Every time I pull a batch out of the oven, I'm reminded that sometimes the most delightful meals are the ones where you let yourself be a little playful in the kitchen.