 Save
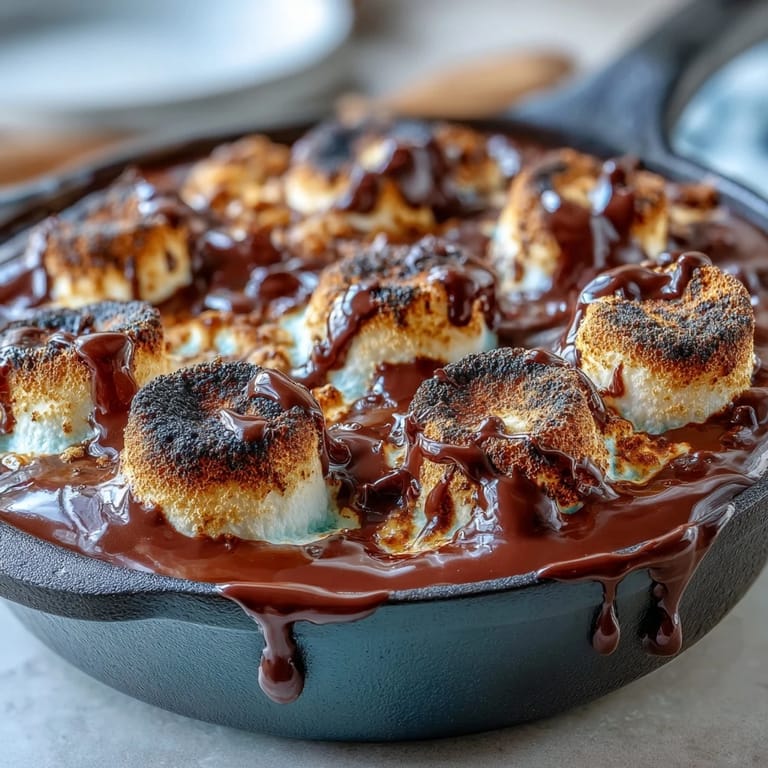
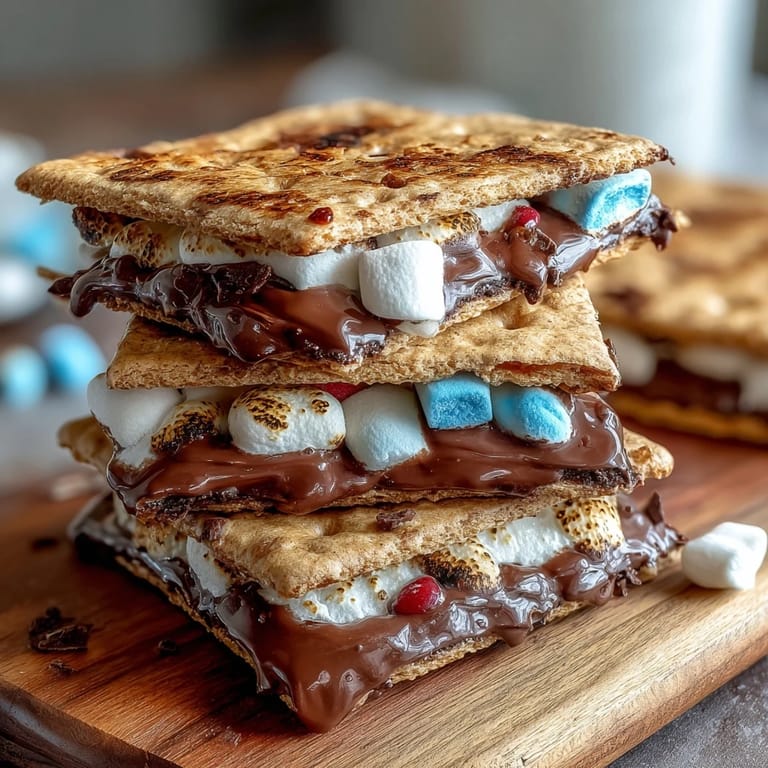
Save My neighbor knocked on the door that Fourth of July afternoon with a cooler full of supplies and zero plan, just the kind of spontaneity that makes summer afternoons memorable. We'd been standing in her kitchen debating between elaborate desserts or something we could actually pull off without stress, when she spotted my cast iron skillet hanging on the wall and everything clicked into place. This s'mores dip became our answer—something that feels like campfire nostalgia but happens entirely in the oven while we set up the patio. The beauty of it is how quickly it comes together, turning chocolate chips and marshmallows into something that makes people actually pause mid-conversation to reach for another piece of graham cracker.
That Fourth of July, my neighbor's teenage daughter actually put her phone down to help arrange marshmallows, which felt like witnessing a small miracle. The skillet came straight from the oven with golden-brown marshmallow peaks that caught the kitchen light in the most inviting way, and somehow the whole gathering shifted around that one dish. People kept circling back, trying different combinations with berries and crackers, turning dessert into this informal, lingering moment. It taught me that the best recipes aren't always about complexity—sometimes they're just about creating an excuse for people to slow down together.
Ingredients
- Semi-sweet chocolate chips (2 cups): These are the foundation, and the semi-sweet variety hits that perfect balance between richness and sweetness without overpowering the marshmallows.
- Unsalted butter (1 tablespoon): Just enough to help the chocolate melt smoothly and create that silky, luxurious texture when stirred together.
- Large marshmallows (3 cups): The bigger ones matter here because they toast more evenly and create those gorgeous golden peaks; mini marshmallows disappear into each other.
- Graham crackers (16, broken into pieces): Your vehicle for scooping, and honestly, the act of breaking them by hand feels more intentional than pre-broken versions.
- Red, white, and blue chocolate candies (1/4 cup, optional): These are pure festive joy, melting slightly into the warm marshmallows and adding visual celebration.
- Strawberries (1 cup, sliced) and blueberries (1 cup, optional): Fresh berries cut through the richness and add bright, unexpected flavor bursts alongside the chocolate and marshmallow.
Tired of Takeout? 🥡
Get 10 meals you can make faster than delivery arrives. Seriously.
One email. No spam. Unsubscribe anytime.
Instructions
- Get your skillet ready and preheat:
- Set your oven to 400°F and make sure your 10-inch cast iron is nearby—having it within reach means you won't fumble once the chocolate starts melting. A hot oven gets the chocolate layer to that just-right consistency quickly.
- Layer the chocolate foundation:
- Scatter the chocolate chips and butter across the bottom of the cold skillet and slide it into the oven for about 3 to 4 minutes. You're looking for chips that have softened enough to stir smooth, not melted into an oil slick—there's a sweet spot that happens fast.
- Stir until glossy:
- Pull the skillet out carefully using oven mitts—it's hot enough to mean business—and give everything a good stir until you've got a smooth, glossy chocolate layer. This stirring moment is oddly satisfying, and it ensures the butter is fully incorporated for the smoothest finish.
- Arrange marshmallows like you're creating art:
- Take your large marshmallows and nestle them closely together over the chocolate, covering the entire surface in a single layer. They should touch each other but not be crammed in so tight they can't puff up.
- Toast until golden and puffy:
- Return the skillet to the oven for 5 to 7 minutes, watching through the window because marshmallows brown fast once they get going. You want the tops to be golden with some darker toasted spots, not pale or—on the flip side—completely charred.
- Add festive flair if desired:
- Once the marshmallows come out, while everything is still warm and slightly soft, scatter the red, white, and blue candies over top if you're leaning into the holiday theme. They'll soften just enough to create pockets of color.
- Let it rest briefly before serving:
- Give it 3 to 5 minutes to cool slightly so the edges set just enough to hold together when you scoop, but it's still warm and gooey in the center. This is the hardest part because it smells unbelievably good and patience feels impossible.
 Save
Save There's something about serving food straight from a cast iron skillet that makes people feel like they're part of something special, something that happened in real time right in front of them. By the end of that Fourth of July evening, we were down to scraping chocolate from the edges with the last few graham crackers, and nobody wanted to stop, which felt like the truest measure of success.
Why Cast Iron Makes a Difference
Cast iron holds heat in a way that keeps this dip warm and gooey throughout the entire gathering, which means people can graze at their own pace instead of rushing before it hardens. The skillet also looks beautiful on the table—rustic and intentional—which somehow elevates something so simple into something that feels like you put real thought into it. Plus, there's something about the visual of people gathered around cast iron that just works for summer entertaining.
Timing and Temperature Tricks
The 400°F temperature might seem hot, but it's essential for getting marshmallows to puff and toast before the chocolate underneath burns. If your oven runs hot, check it around the 5-minute mark on the second bake because every oven is different, and the line between gorgeously golden and overdone is thinner than you'd expect. Serve this immediately while everything is still warm and the contrast between melted and toasted textures is at its peak.
Variations and Flavor Extensions
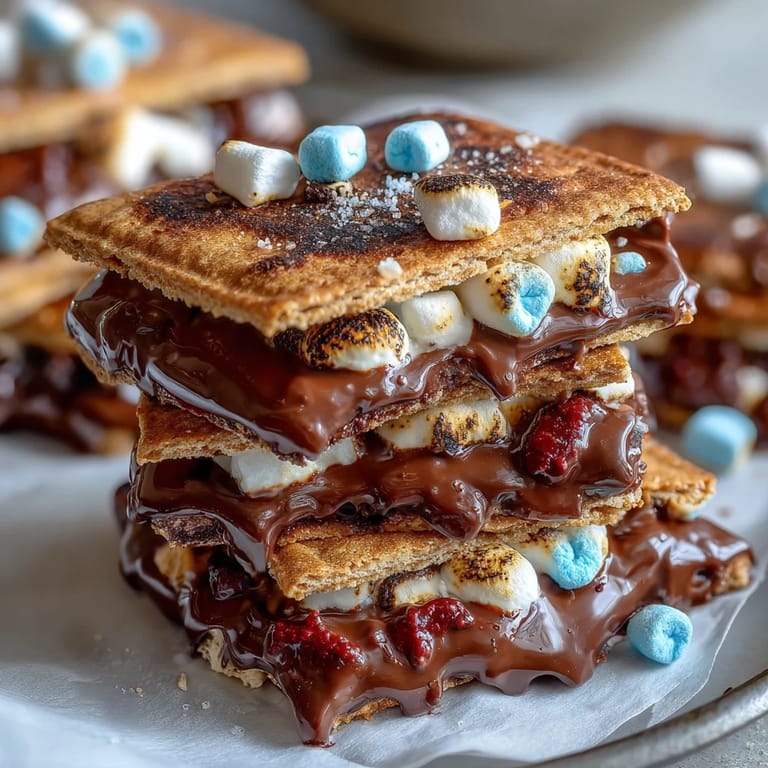
The beauty of this recipe is how willing it is to be customized based on what's in your kitchen or what you're in the mood for. I've experimented with a drizzle of peanut butter over the chocolate before adding marshmallows, which adds an unexpected nutty depth, and that sea salt sprinkle mentioned in the original notes genuinely does magic against the sweetness. The fresh berries aren't just pretty—they're a functional counterbalance that keeps this from feeling heavy, and strawberries especially create this interesting flavor bridge between the chocolate and marshmallow.
 Save
Save Every time I make this now, I remember that afternoon and how something so simple created a moment worth repeating. It's become my go-to answer for gatherings where I want to contribute something that tastes like care without requiring hours in the kitchen.
Recipe Help & FAQs
- → What is the best skillet for this dish?
A 10-inch cast iron skillet is ideal for even heat distribution and achieving perfect toasting.
- → Can I substitute the chocolate chips?
Semi-sweet chocolate chips work best, but milk or dark chocolate chips can be used based on preference.
- → How do I know when marshmallows are perfectly toasted?
They should be golden brown on top, soft inside, and slightly puffed, usually after 5-7 minutes in the oven.
- → Are there ways to add extra flavor?
Try sprinkling sea salt or drizzling peanut butter over the melted chocolate before adding marshmallows for added depth.
- → What are good dippers for this dish?
Broken graham crackers, sliced strawberries, and blueberries complement the gooey layers wonderfully.