 Save
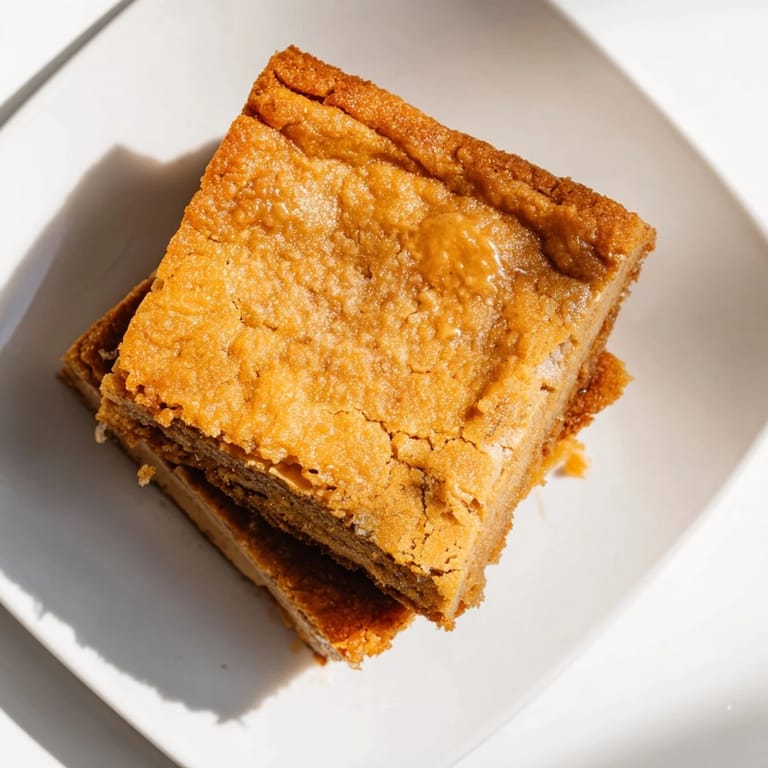
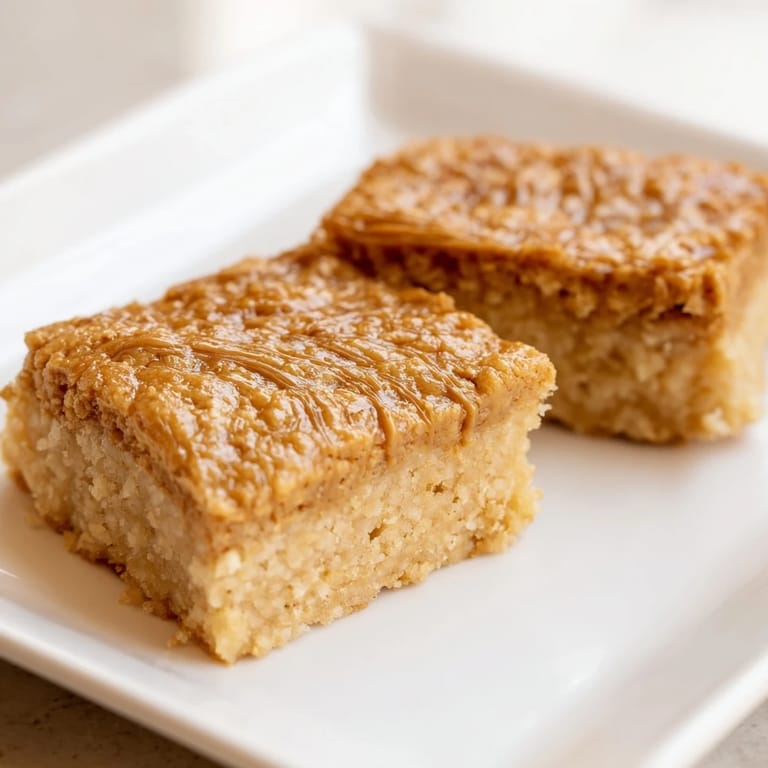
Save I pulled this cake from the oven on a rainy Tuesday, not expecting much beyond a simple dessert experiment. The smell hit me first: warm peanut butter and something faintly sweet and floral from the coconut milk. When I cut into it the next day, the texture stopped me cold—chewy like mochi, but tender enough to pull apart with a fork. I've been making it ever since, tweaking nothing, because sometimes you stumble onto something that just works.
The first time I brought this to a potluck, someone asked if I'd ordered it from a bakery. I laughed because I'd made it in my pajamas an hour before, still half asleep. A friend who grew up eating butter mochi in Hawaii said it reminded her of home, but with a twist. That's when I realized this cake doesn't need a backstory—it earns its place on the table every time.
Ingredients
- Sweet rice flour (mochiko): This is the soul of the cake—it gives you that signature chew without any gluten. Don't substitute regular rice flour or you'll end up with something grainy and sad.
- Granulated sugar: Just enough to sweeten without making it cloying. I've tried cutting it down, but the cake loses its balance.
- Baking powder: A small amount lifts the batter just enough so it doesn't turn into a dense brick.
- Whole milk and coconut milk: The combination makes the crumb tender and adds a barely-there tropical note. Full-fat coconut milk is essential—the light stuff won't give you the same richness.
- Eggs: They bind everything and help the top turn golden and slightly crisp as it bakes.
- Creamy peanut butter: Use the regular kind, not natural. The emulsifiers help it blend smoothly into the batter without separating.
- Melted butter: Adds richness and a buttery finish that rounds out the peanut flavor.
- Vanilla extract: Just a whisper to tie all the flavors together.
Tired of Takeout? 🥡
Get 10 meals you can make faster than delivery arrives. Seriously.
One email. No spam. Unsubscribe anytime.
Instructions
- Prep your pan:
- Preheat the oven to 350°F and grease your 9x13-inch pan generously, or line it with parchment for easy removal. Don't skip this—mochi batter loves to stick.
- Mix the dry ingredients:
- Whisk together the sweet rice flour, sugar, baking powder, and salt in a large bowl until there are no lumps. This step matters more than you think—clumps now mean clumps later.
- Blend the wet ingredients:
- In another bowl, whisk the milk, coconut milk, eggs, peanut butter, melted butter, and vanilla until completely smooth. The peanut butter can be stubborn, so give it a good whisk.
- Combine and pour:
- Pour the wet mixture into the dry and whisk until the batter is silky and uniform. Pour it into your prepared pan and tap it gently on the counter a few times to release any trapped air.
- Bake until golden:
- Slide it into the oven and bake for 45 to 50 minutes. You'll know it's done when the top is golden brown and a toothpick comes out clean or with just a few moist crumbs.
- Cool completely:
- Let the cake cool in the pan before slicing. It firms up as it cools, and cutting it warm will give you a sticky mess instead of clean squares.
 Save
Save I served this at a small birthday dinner once, and a friend who claimed she didn't like peanut butter ate two pieces without saying a word. Later she texted asking for the recipe. That's the thing about this cake—it sneaks up on you, and suddenly you're thinking about it days later, planning when you can make it again.
Serving and Storage
This cake is just as good at room temperature as it is cold from the fridge. I usually let it sit out for about twenty minutes after chilling so the texture softens just a little. It keeps well in an airtight container in the fridge for up to five days, though it rarely lasts that long. Some people love it with a dollop of whipped cream or a handful of fresh berries on the side, but I think it stands perfectly well on its own.
Variations Worth Trying
If you want a little crunch, scatter roasted peanuts over the top before baking—they'll toast further in the oven and add a nice contrast. I've also swapped the coconut milk for evaporated milk when I wanted a lighter, less tropical flavor, and it worked beautifully. Once, I drizzled melted chocolate over cooled squares just to see what would happen, and I regretted nothing.
What to Watch For
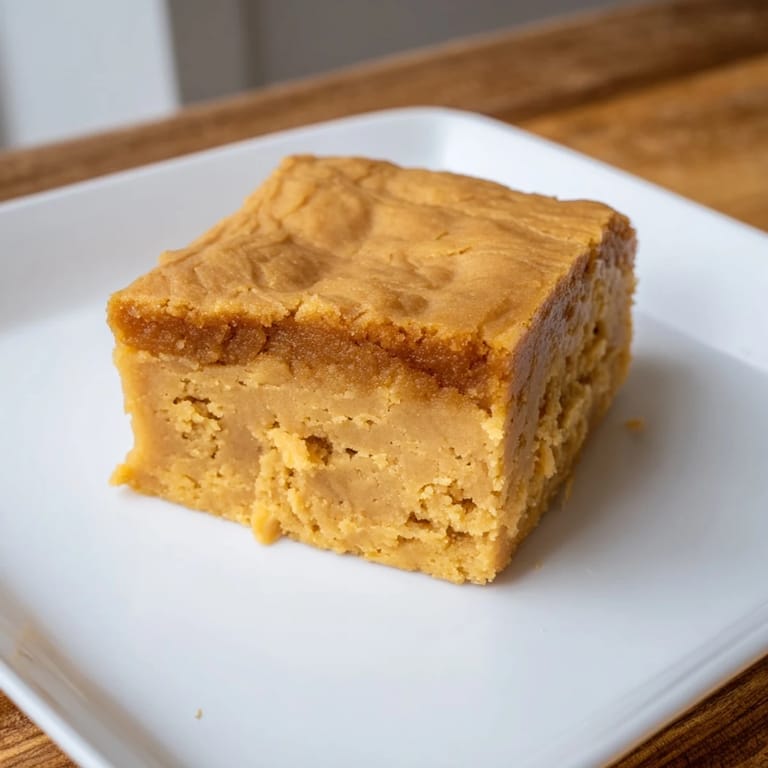
The top should turn a deep golden brown, almost caramelized in spots. If it's browning too fast, tent it loosely with foil for the last ten minutes. The edges will pull away slightly from the pan when it's done, and the center should feel set but still have a little give when you press it gently.
- Don't open the oven door too early or the cake might sink in the middle.
- If you're using a glass pan, you may need an extra five minutes of baking time.
- Let your eggs and milk come to room temperature before mixing for a smoother batter.
 Save
Save There's something quietly satisfying about a dessert that doesn't demand much but gives back so generously. This cake has become my go-to when I want something homemade without the fuss, and every time I make it, it feels like the right choice.
Recipe Help & FAQs
- → What flour is used for the chewy texture?
Sweet rice flour, also known as mochiko, provides the signature chewy texture essential to mochi.
- → Can I substitute the peanut butter?
While peanut butter adds a distinct richness, alternatives like almond or cashew butter can be experimented with for varied nutty flavors.
- → How is the moisture balanced in this dessert?
A combination of whole milk and coconut milk creates a rich, moist batter that enhances tenderness and flavor.
- → What is the best baking temperature and time?
Baking at 350°F (175°C) for 45-50 minutes yields a golden top and clean toothpick test, ensuring a fully cooked interior.
- → How to store leftovers?
Keep cooled portions in an airtight container refrigerated to maintain freshness and texture.